Finding your campsite, a spectacular viewpoint or your way back out of the wilderness won’t always be simple. I’m sure you know a few fundamentals of navigation like that the sun rises in east, the polar star points to the north and the snow melt faster in south-facing slopes. To use these methods you need knowledge and can be difficult considering that the weather changes. Map and compass is one of my 9 essentials that I always bring when I hike. Finding your way with a map and compass will always guide your way and in this post, I will try to learn you how to use it properly.
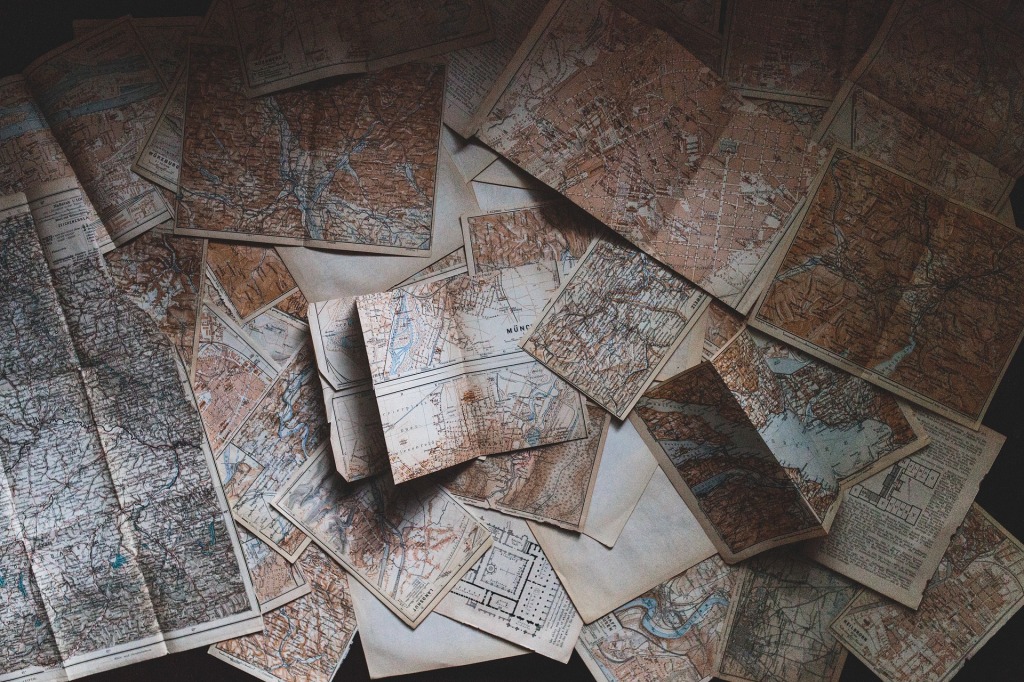
The map
The map is the most important navigation tool when you want to find and locate a path to your destination. Every map has a map scale which relates distance on the map to the world. Using this scale of a map, you can see the actual distance between two points, where you are, and where you want to go. Map scale refers to the ratio between distance on a map and the corresponding distance on the ground. Several maps are scaled to 1 : 250000 as a regional scale. If you have a map with this scale, 1 cm on the map equals 2,5 km on the ground. With this information you know close or far away you are from your destination. The map also includes a large number of different symbols to represent objects such as buildings, trails, rivers and how steep a mountain is.
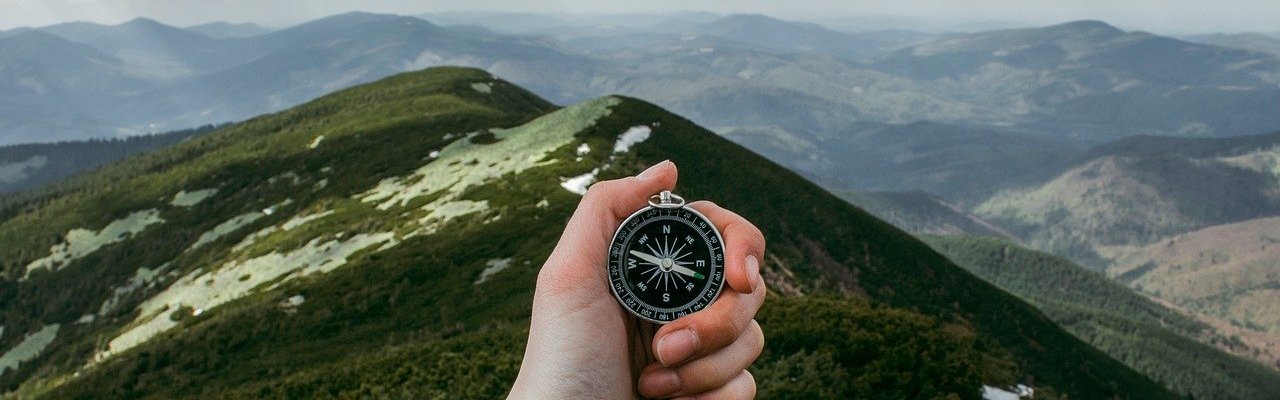
The compass
The compass is the second most important navigation tool. The first thing you need to learn, are the directions. North, South, East and West, and these directions are located on the compass housing. On my compass, North is marked with red on the housing. The other parts of your compass consists of an orienting arrow, orienting lines, compass needle, rulers and direction of travel pointer. In many cases your compass needle have a red and black part. The red part of it is always pointing towards the earth’s magnetic north pole. So if you want to hike to the north pole, it’s just to follow that red arrow! If you don’t want to only walk towards north, let’s have a look on how to combine the map and compass.
Combining the map and compass
You have now knowledge about both your map and compass, and it’s time to combine them. Let’s get ready to let the map take you anywhere in the world!
The first thing you want to do is to have your map oriented correctly. You can use your surroundings, look after mountains, rivers, power lines etc. Try to identify nearby landmarks. When you have oriented your map, you can be able to use a bearing to get to any location. Let’s do this step by step.
Set your compass on the map so that the ruler, the straight side, lines up between your current position, and the map location for a destination where you would like to travel, like a campsite. Pay attention and make sure the direction of travel arrow is pointing in the general direction of the location you want to get to. If this happens, you will walk the opposite direction. The next step is to rotate the compass housing until the orienting lines on the compass are aligned with the north and south grid lines. Take up the compass and hold it with the direction of travel arrow pointing away from you. Rotate your body until the needle is inside the orienting arrow. You have now captured the bearing, and you can follow it to your destination. In difficult conditions such as snow or fog you need to pay close attention to your map, and take new bearings often. Use your landmarks that is visible. Walk to this point and take a new bearing.

One thought on “THE BASICS: MAP AND COMPASS”